Assembling Instructions: Task board
Step 1: Prepare the Components
3D-printed parts: |
Purchased hardware: |
|---|---|
Taskboard x 1 (Material: PETG) |
M8 Nut x 4 |
Taskboard Foot x 4 (Material: PETG) |
30mm M8 Screw x 4 |
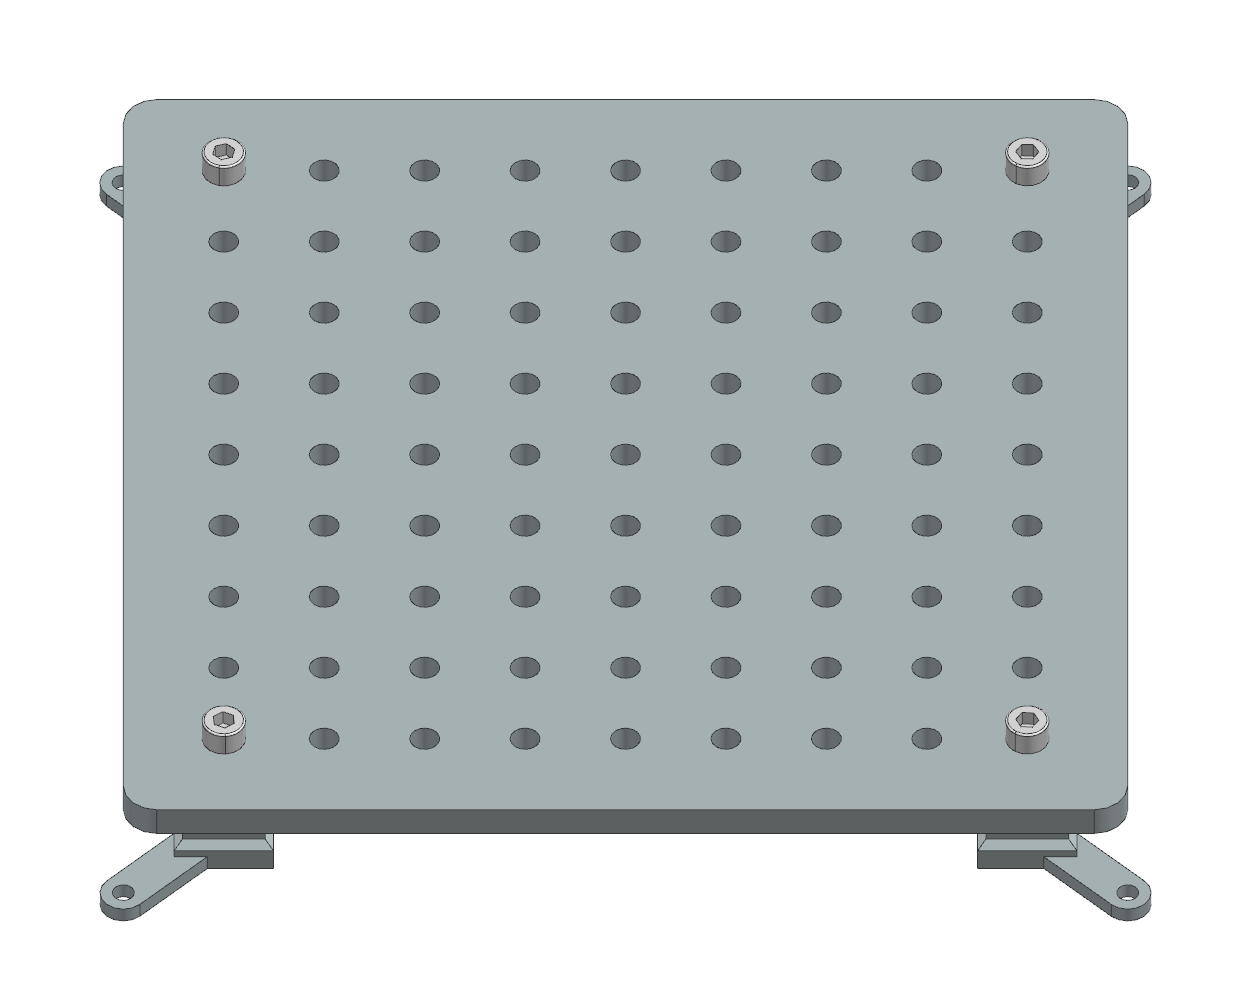
Step 2: Position the Task Board
Place the 3D-printed task board upside down. Ensure that the four rectangular holes are visible.
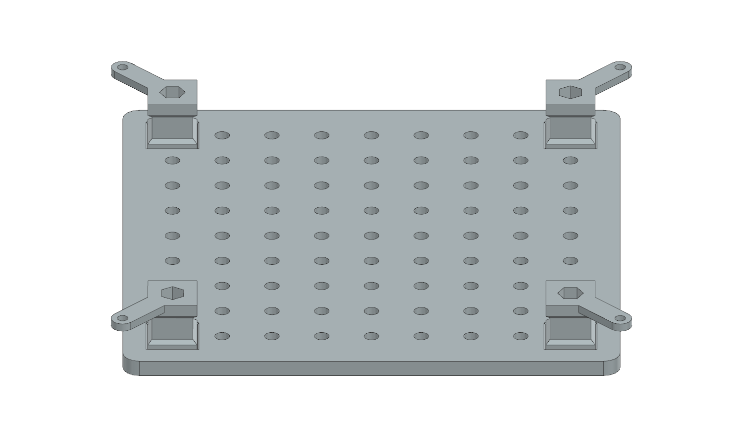
Step 3: Placing the Feet
Insert each task board foot into one of the rectangular holes. Make sure the small bar for fixation is pointing away from the center.
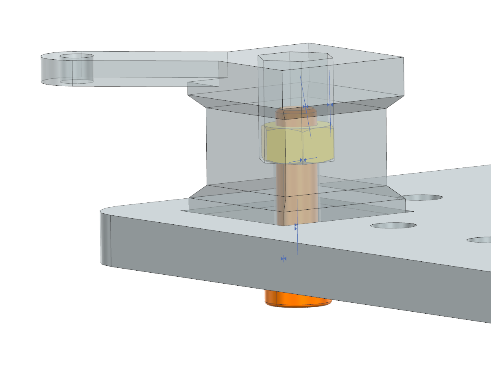
Step 4: Secure the Feet with Screws
Place an M8 nut in the hexagonal hole on the bottom of the foot. Lift the board and insert a 30mm M8 screw through the hole on the opposite side. Begin tightening the screw, ensuring it properly connects with the nut. Repeat this process for all four feet.